Today I’m taking a trip down renovation memory lane and sharing one of my favorite spaces in the whole Sheboygan house—the kitchen. This room has seen everything from late-night baking to major renovation dust storms. And looking back now? I still can’t believe how far it’s come.
If you’re planning your own kitchen renovation (or just here for a little design eye candy), here’s the full scoop: what worked, what surprised me, how my grandpa and I survived reno-ing together—barely—and had a blast doing it.
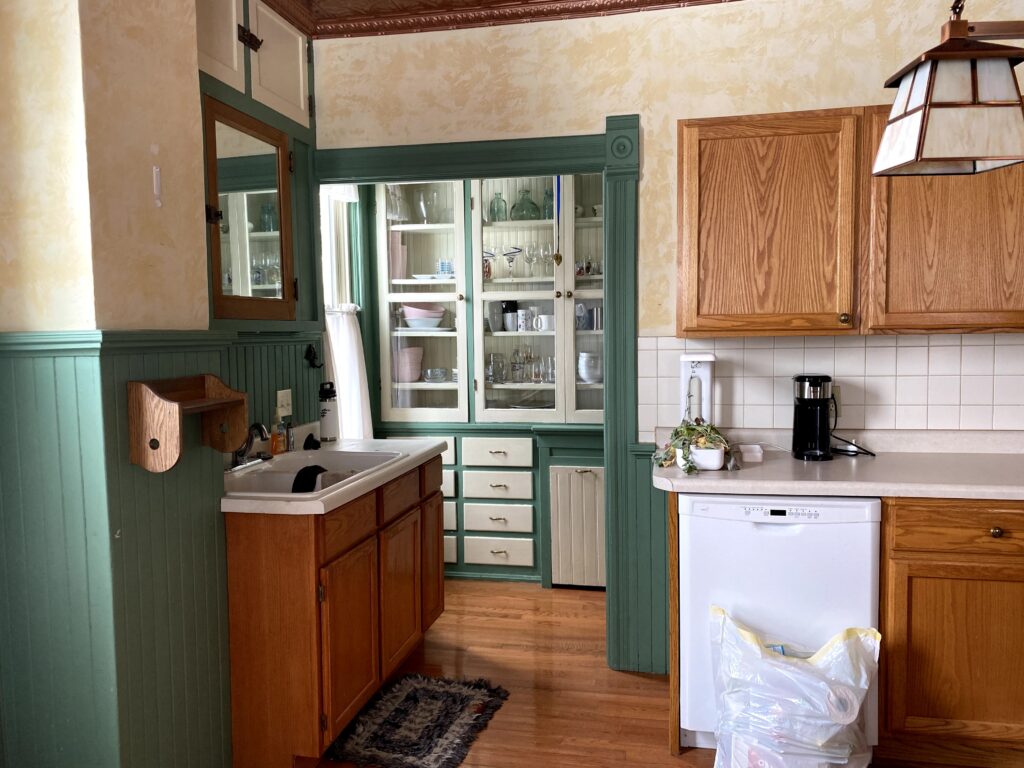
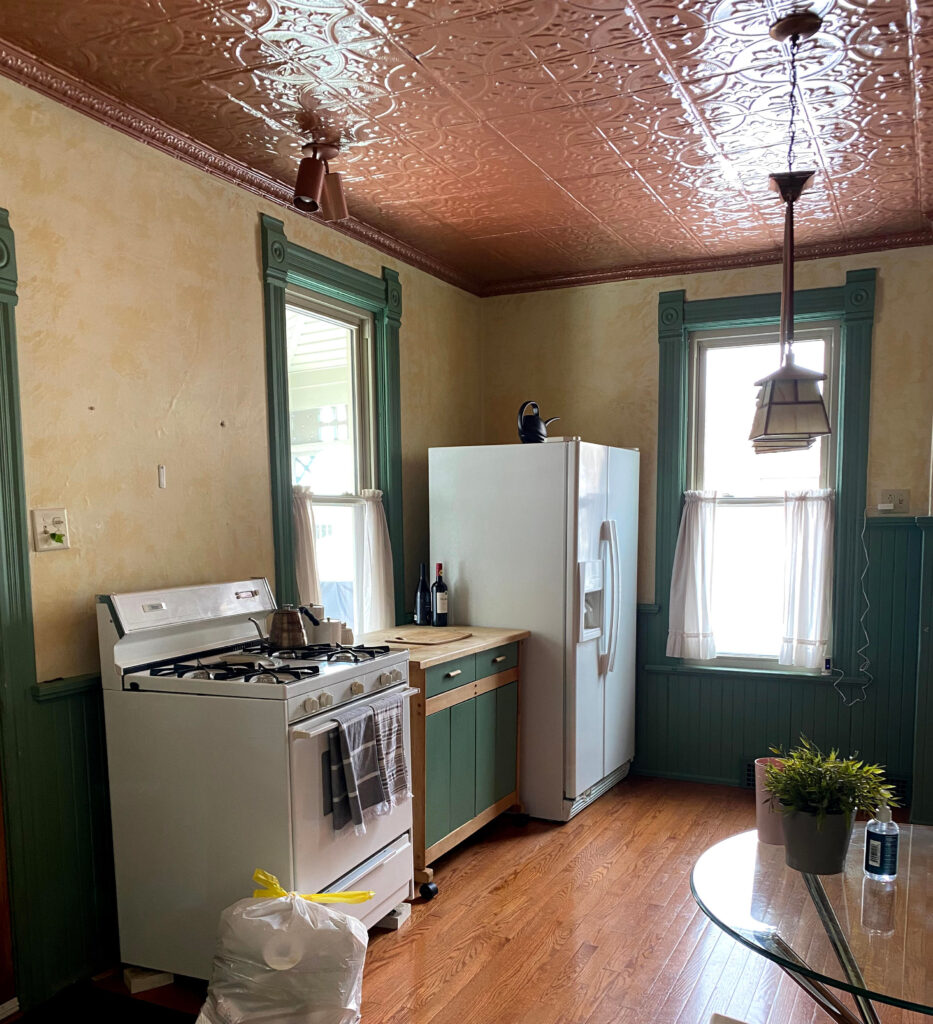
Before: Barely a Kitchen
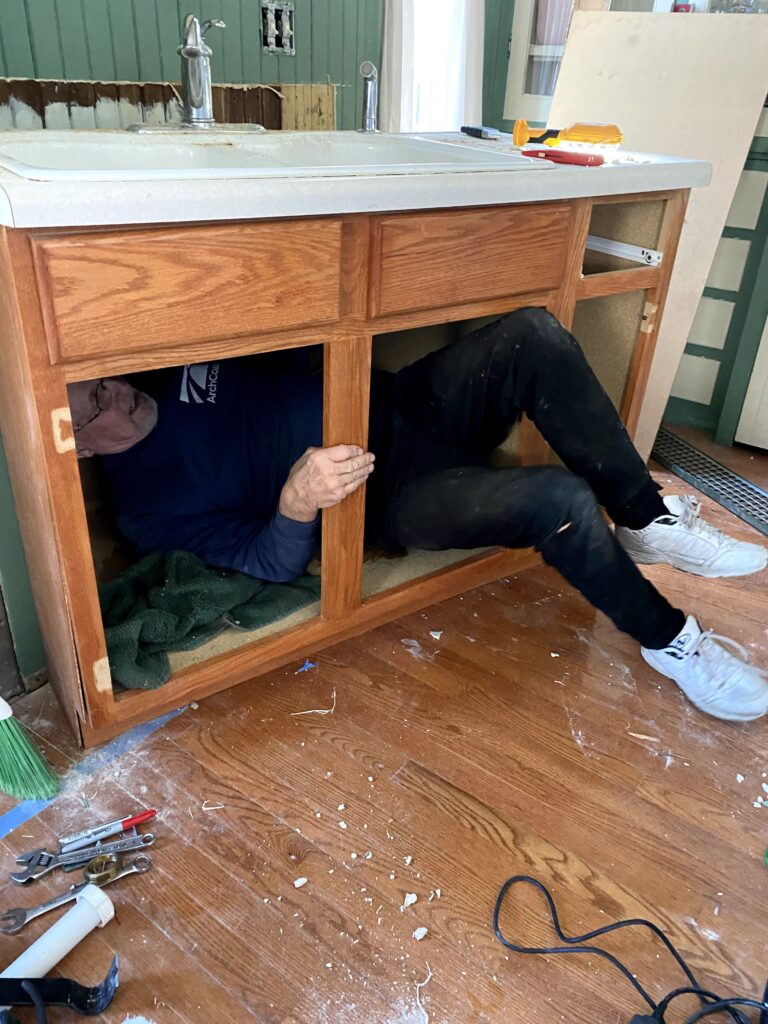
When I first saw this space, “kitchen” was a generous term. There were hardly any cabinets, and the ones that did exist looked tired and confused. The stove was literally sitting on wood blocks—a DIY fix (not mine!) to work around a gas line that had been installed in the most inconvenient spot imaginable.
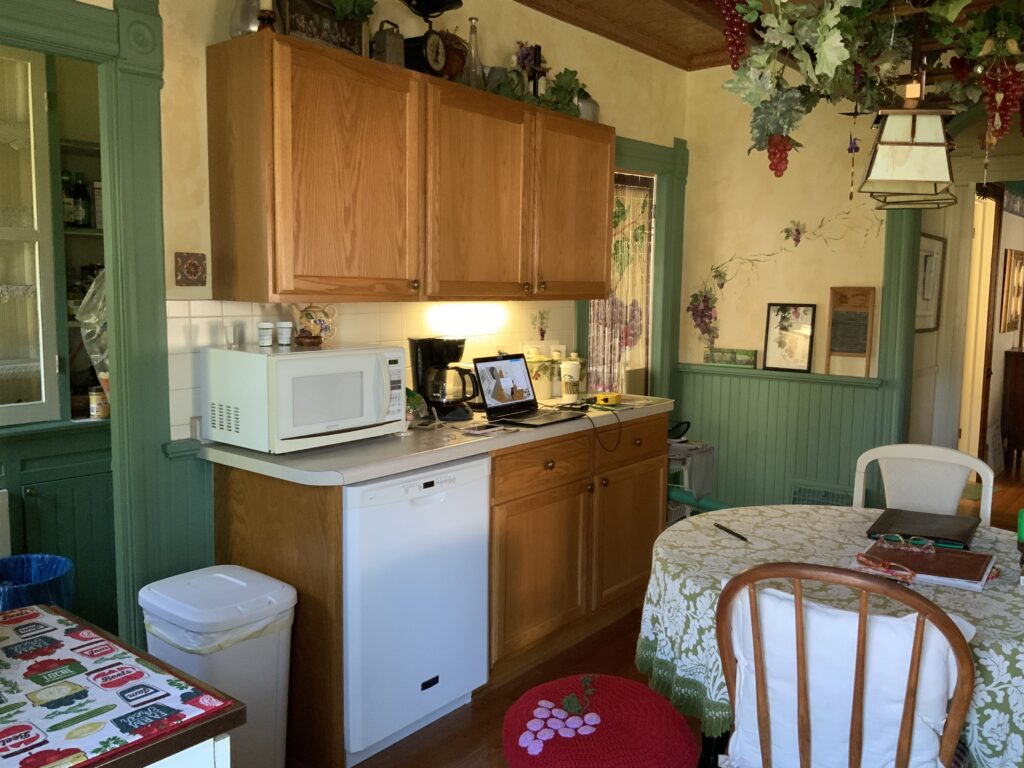
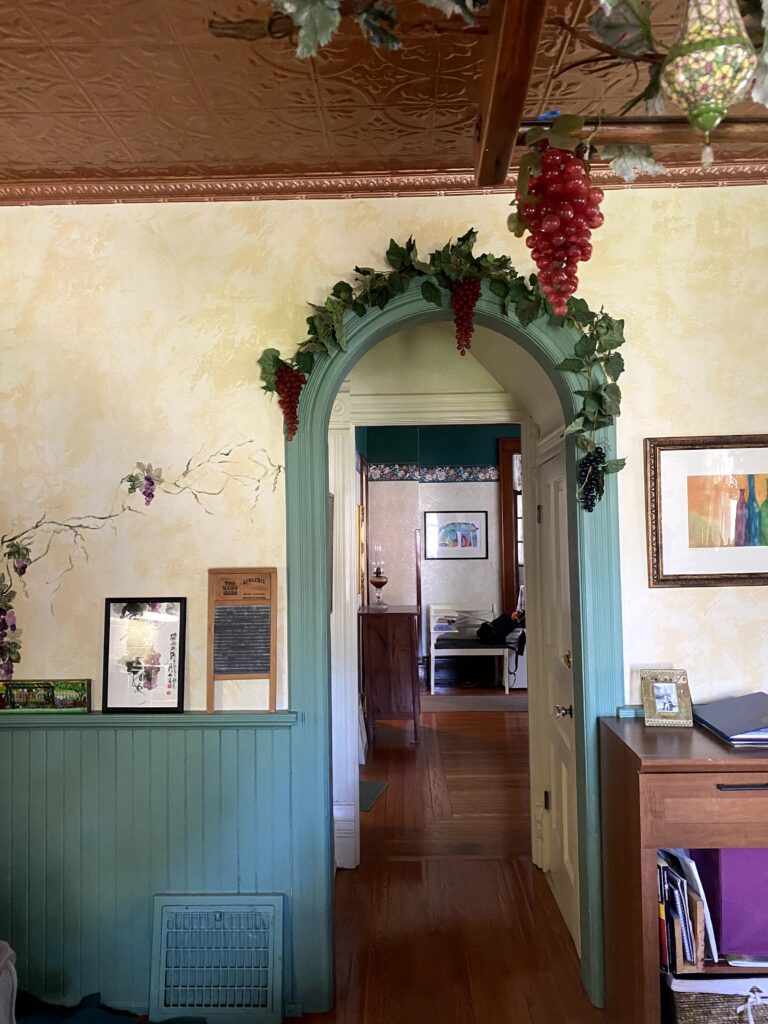

The layout made no sense, with the fridge shoved into a corner like it was being punished and zero prep space anywhere you actually needed it. And then there was the grape motif—yes, grapes. The backsplash, wall painting and trim featured a very committed theme. Now, I’ll give it props for referencing the actual grapevines growing outside the kitchen window (which I love), but inside? It was doing nothing for the space except making me crave wine at 10am.
But even with all that chaos, I could see the charm underneath. This little 1890s kitchen just needed a fresh start—and a lot less fruit.
The Renovation Plan
My goal for this kitchen was to make it bright and welcoming, but still true to the home’s Victorian roots. I didn’t want it to feel like a totally modern insert that ignored the rest of the house. The kitchen needed a fresh start, but one that honored the charm and character that drew me to this place in the first place.
I chose a classic white subway tile backsplash to keep things feeling clean and open. It’s timeless, easy to live with, and plays nicely with the age of the home. I also added open shelving for two reasons:
- I’ve always loved how they look, and
- upper cabinets and I have never really gotten along (short girl problems).
But the biggest change? Improving the layout. The original setup made cooking feel like a game of Tetris. I reworked the flow so it actually functions—everything now has a place, and people naturally gather here without being in the way. It’s become a space that feels good to be in, whether you’re making dinner, pouring wine, or just hanging out while the dogs wander through.
Design Details I Still Love
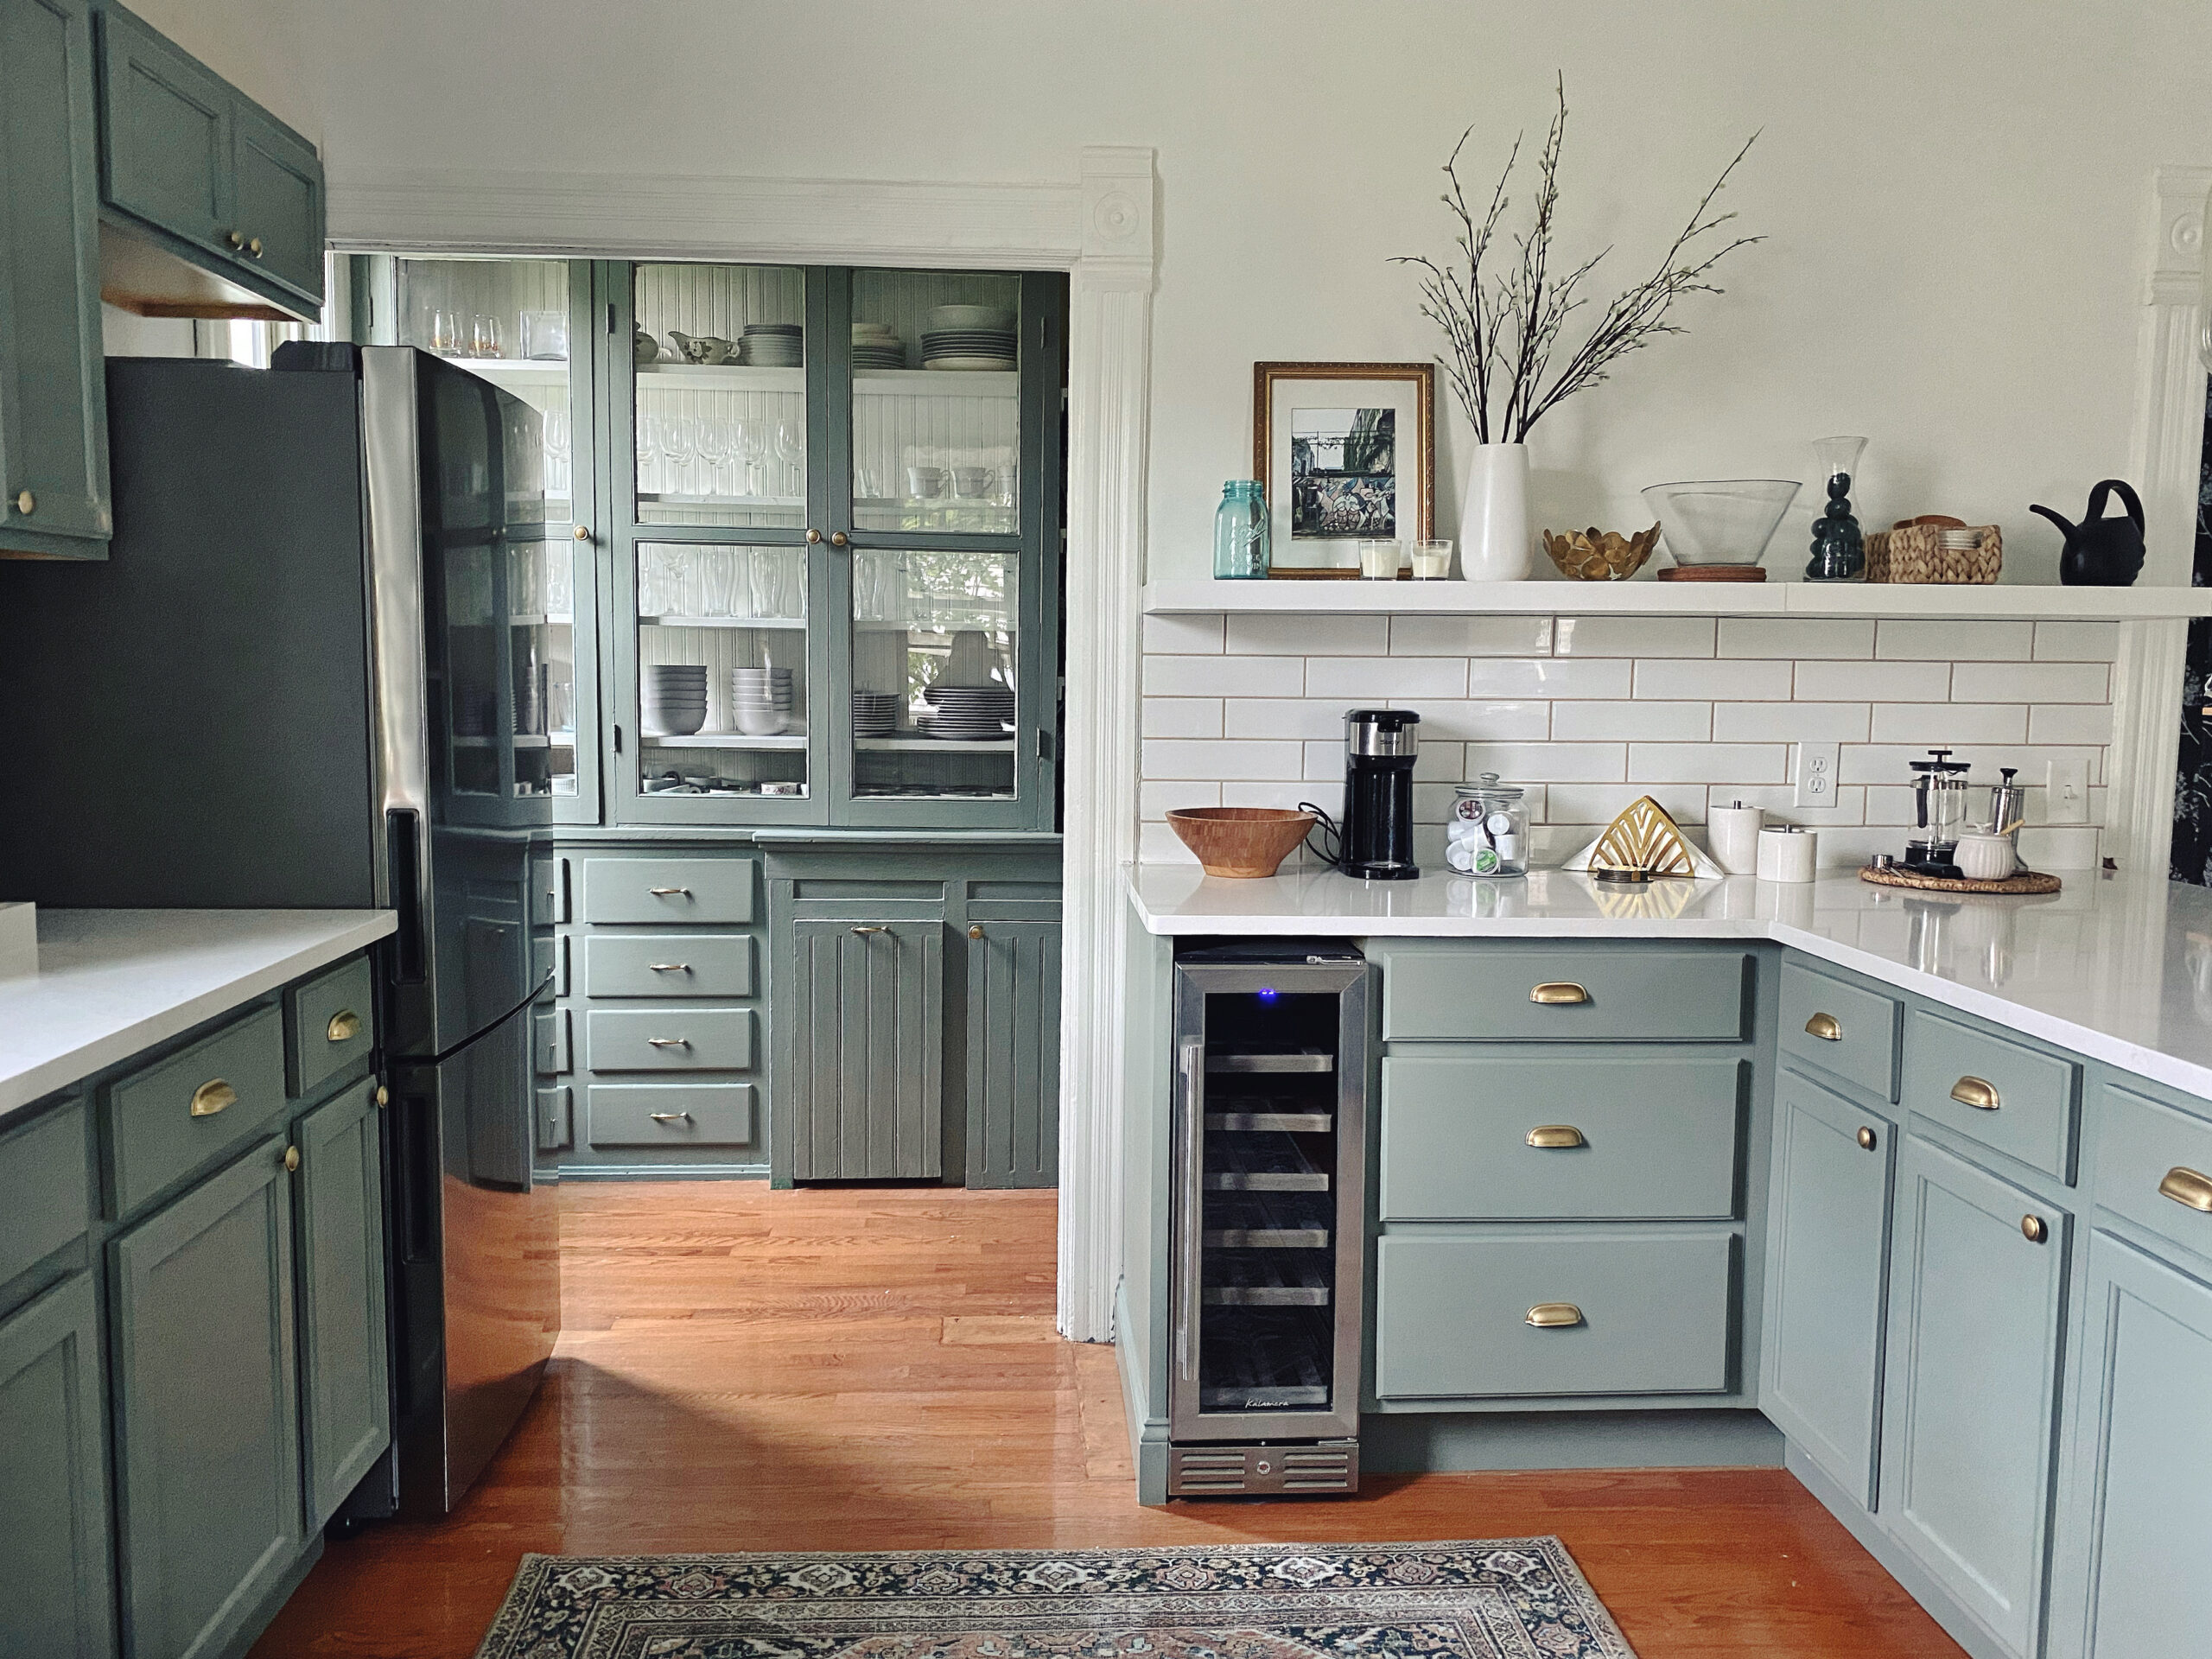
The Subway Tile Backsplash and Exposed Chimney: I know it’s a classic choice, but that’s exactly why I love it. The clean lines and simple finish keep the space feeling open, and the brick pattern layout flows beautifully with the exposed brick nearby—they quietly complement each other without trying to compete. It’s the kind of detail you don’t notice at first but makes the whole room feel more pulled together.
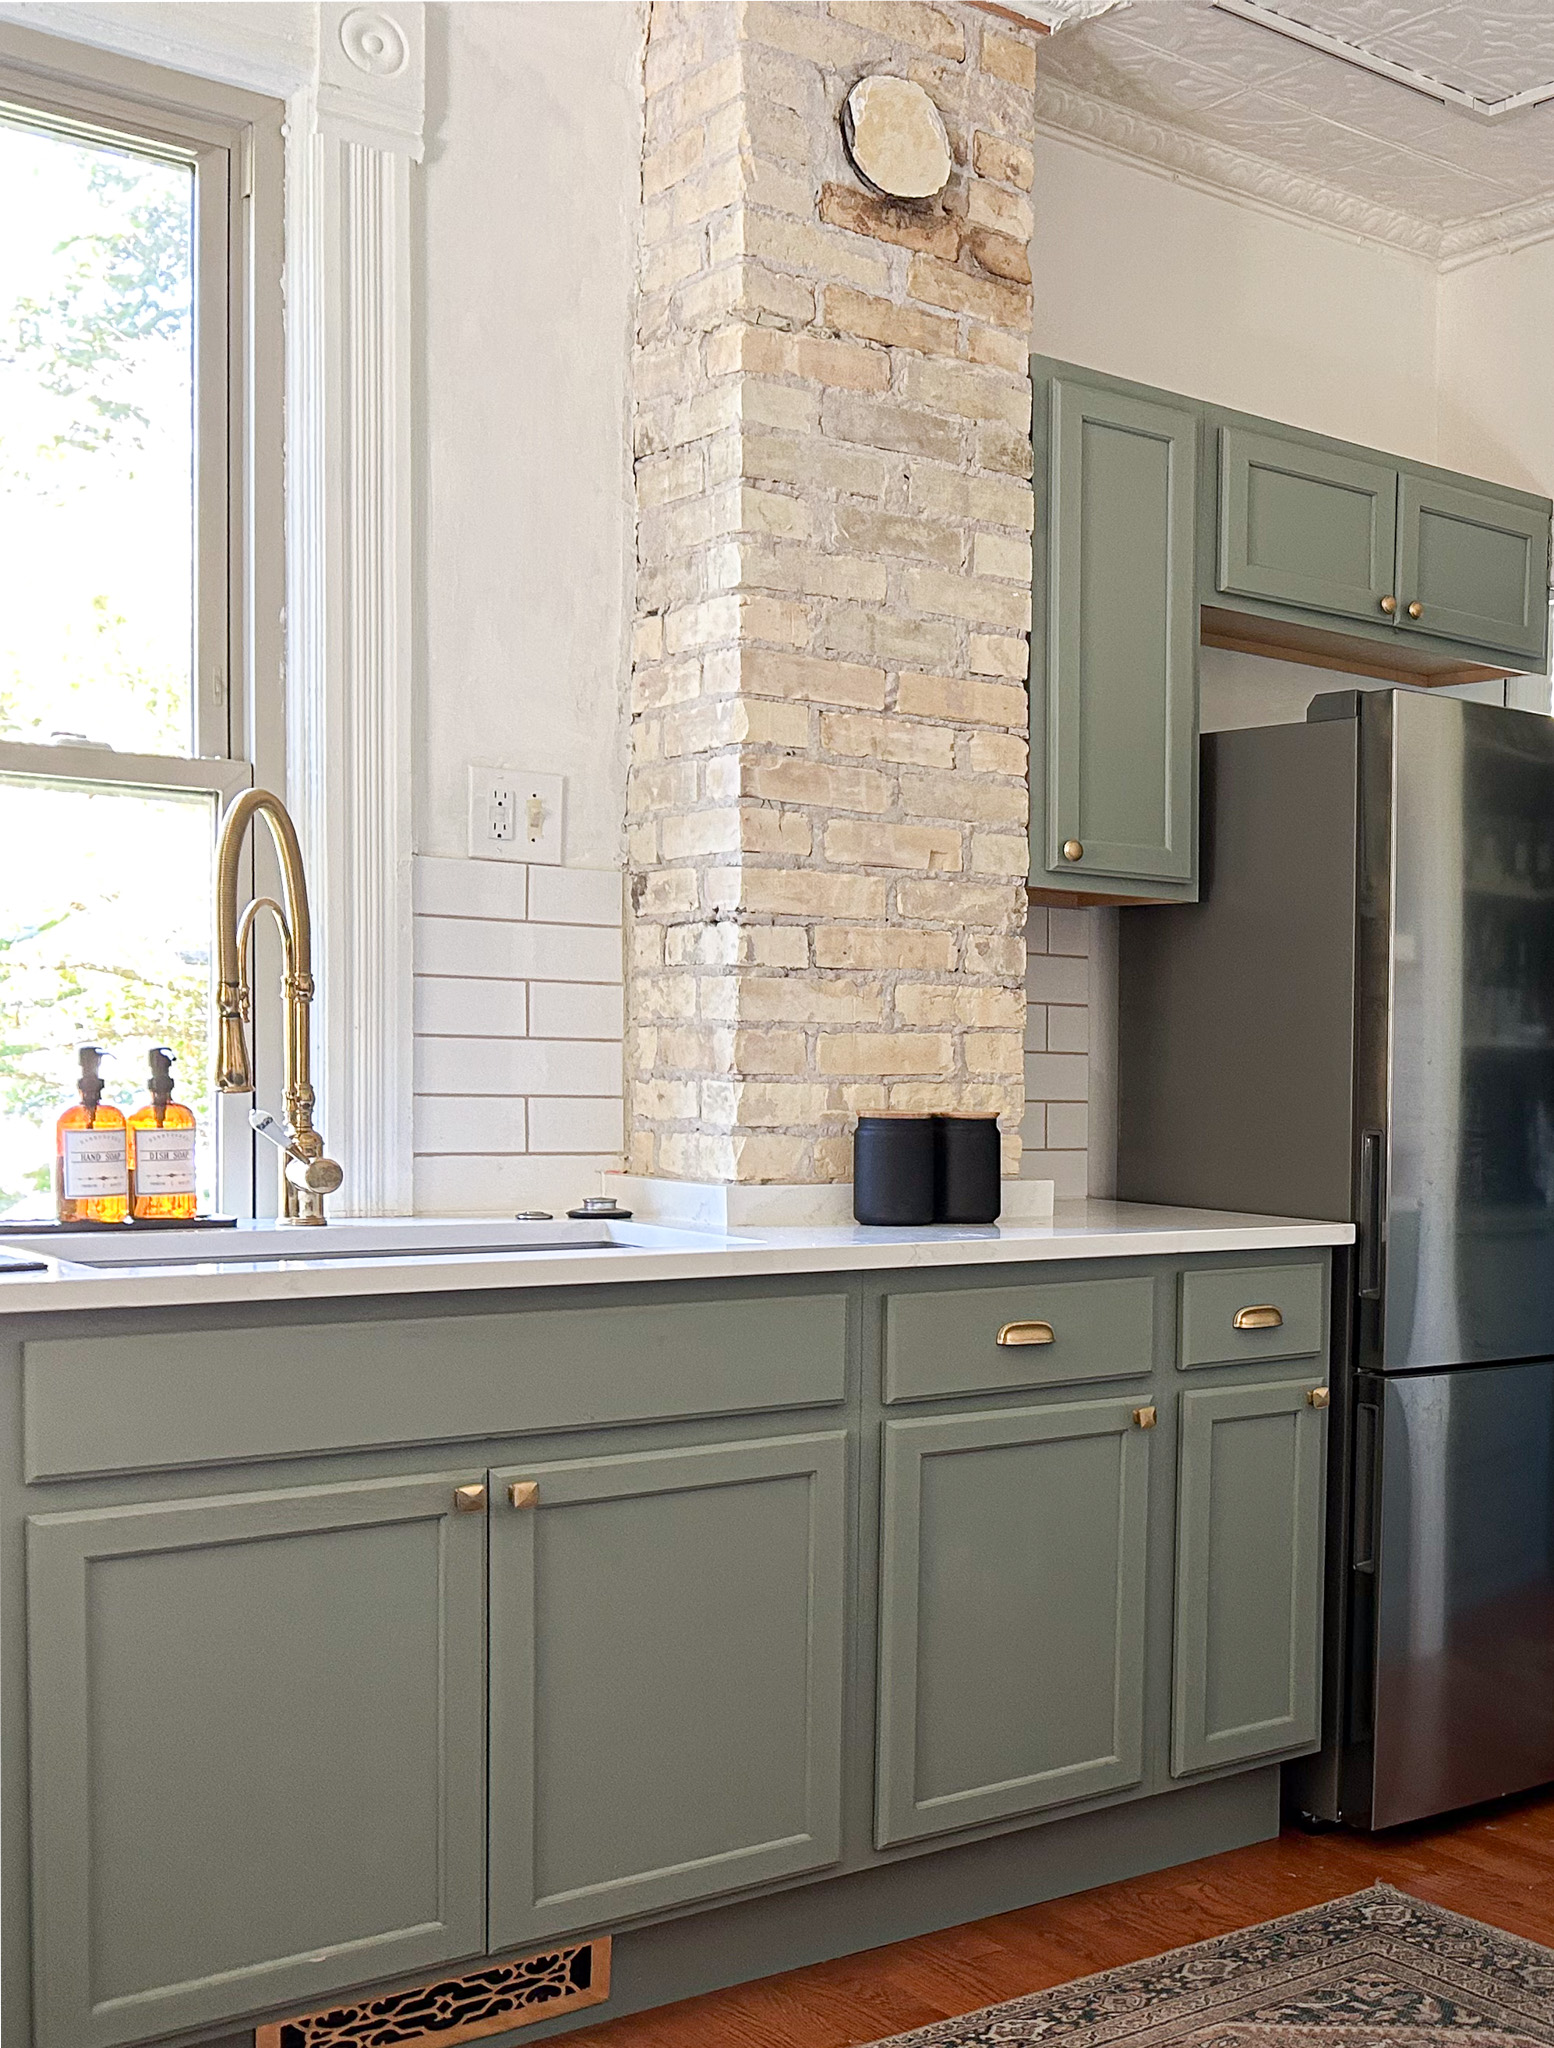
The Soft Green Cabinets: I can’t even count how many compliments I’ve gotten on this color. It’s the kind of green that changes with the light—sometimes warm, sometimes cool, always cozy. I chose it as a nod to the many greens this kitchen has seen over the years, and I love that it keeps a little bit of the home’s layered history alive. It feels both fresh and familiar, and it’s one of the things that makes the space feel truly mine.
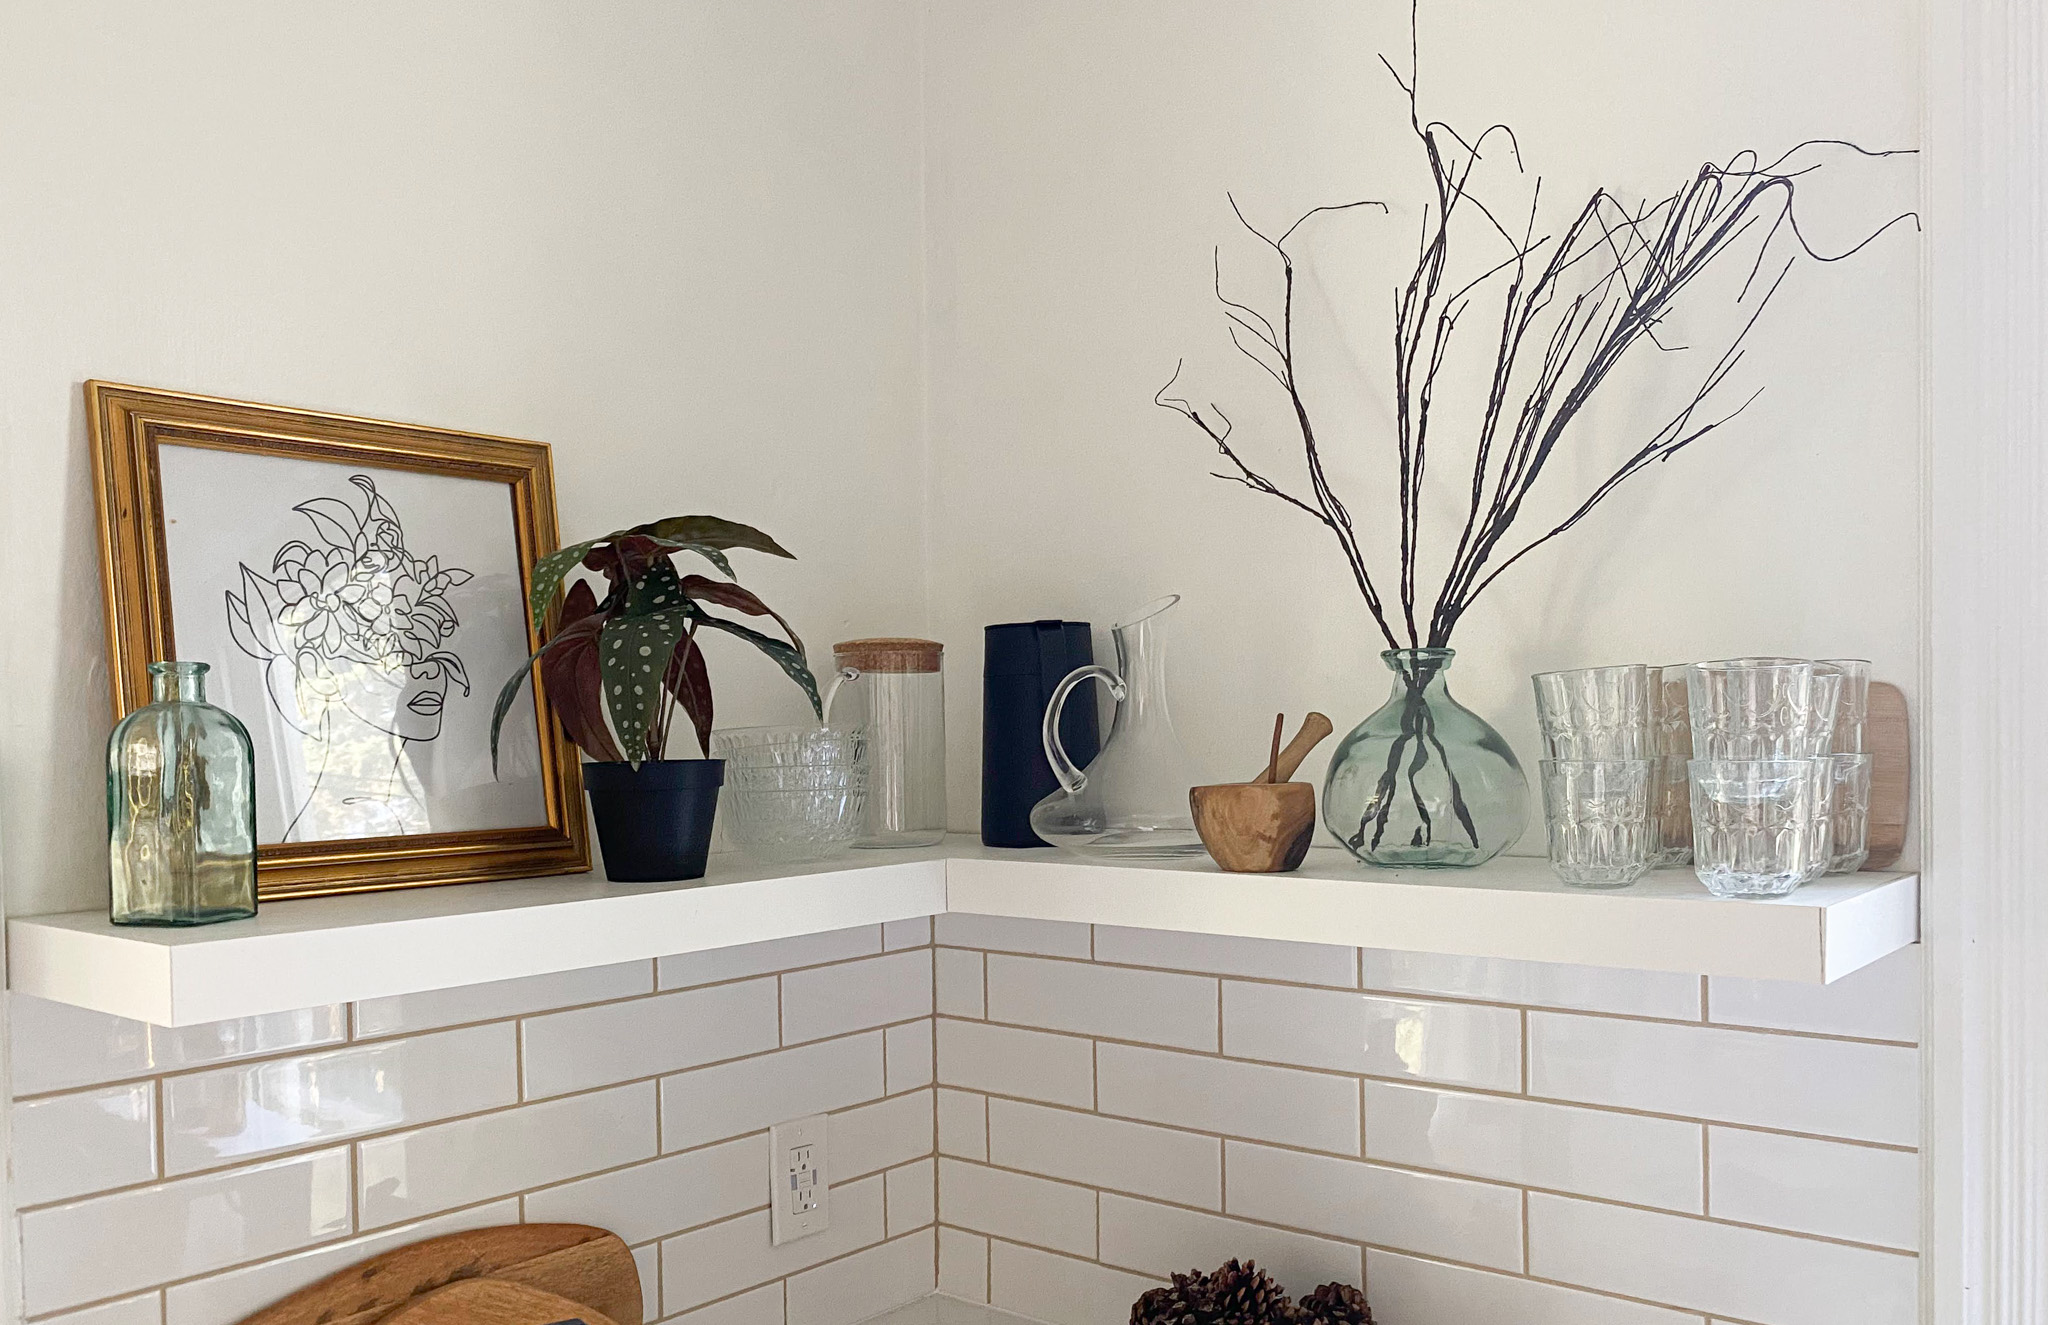
Open Shelving: Still one of my favorite decisions. It keeps things light and open, gives me a spot to display my pretty dishes, and—bonus for short me—means I never have to wrestle with upper cabinet doors. Function + form = happy me.
A Quick Shoutout to Grandpa Geno (a.k.a. My Favorite Contractor)
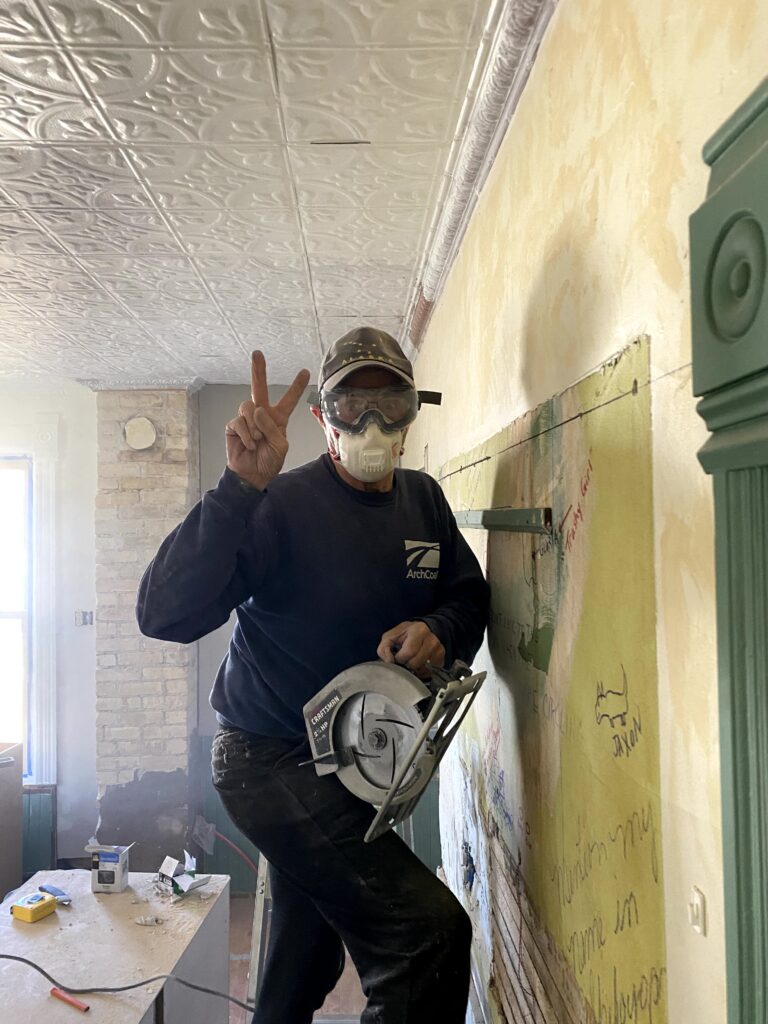
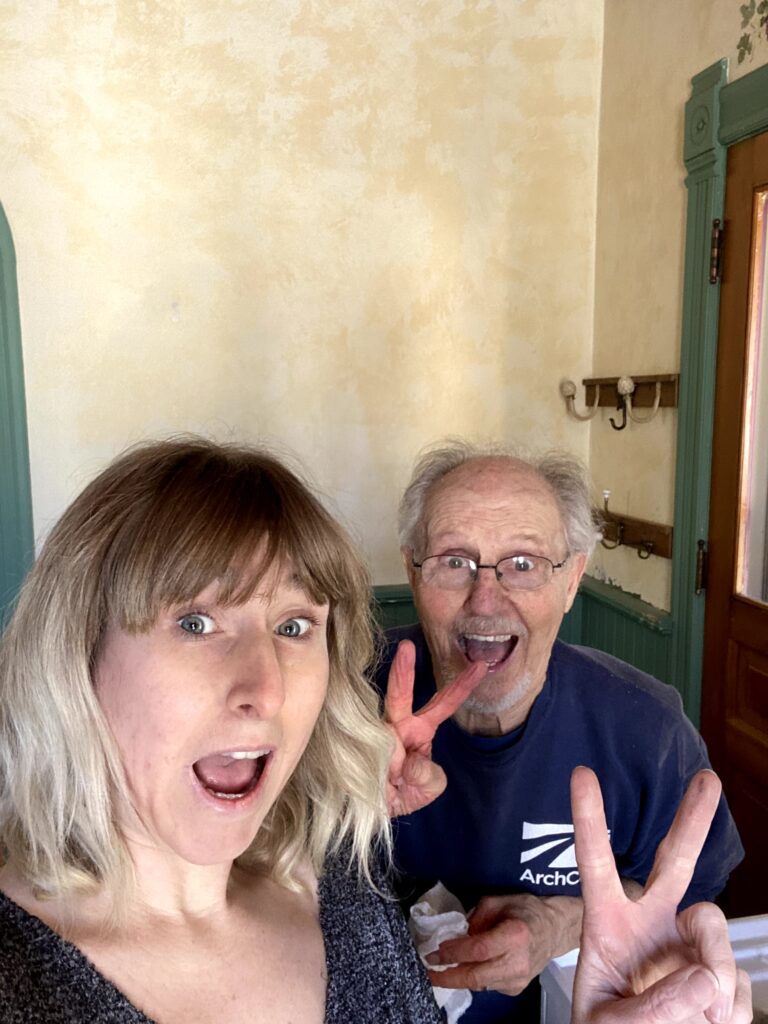
I couldn’t write about this kitchen without giving a proper shoutout to my grandpa Geno—the real MVP behind the scenes (and sometimes in the middle of the scene with a level in one hand and a story in the other).
He’s a total busybody in the best way—the kind of person who’s always got a project going, a plan forming, or a tool in his hand just in case something needs fixing. Over the years, he’s tackled more renovation projects than I can count. And he’s not just winging it—he actually earned a construction certificate back in the day, which basically made him the most qualified person on this job site.
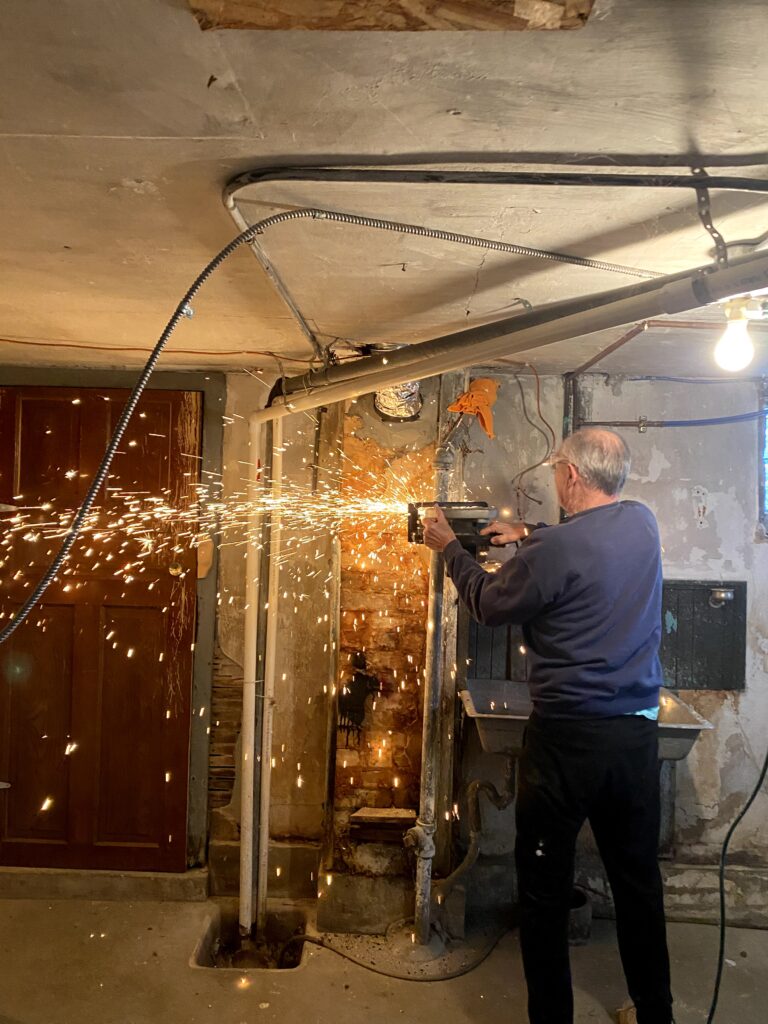
He was there for some of the trickiest parts: helping adjust the gas line, install and level the cabinets (which was quite the ordeal in an old house where nothing is square), and put up the open shelving with his usual precision. Let’s just say if it weren’t for him, those shelves might still be leaning slightly left and the stove might still be balancing on blocks.
It was equal parts work and storytelling, and as always, I learned so much from him—about tools, about patience, and about how much better these projects are when you’re not doing them alone.
Before & After: Totally Worth the Chaos
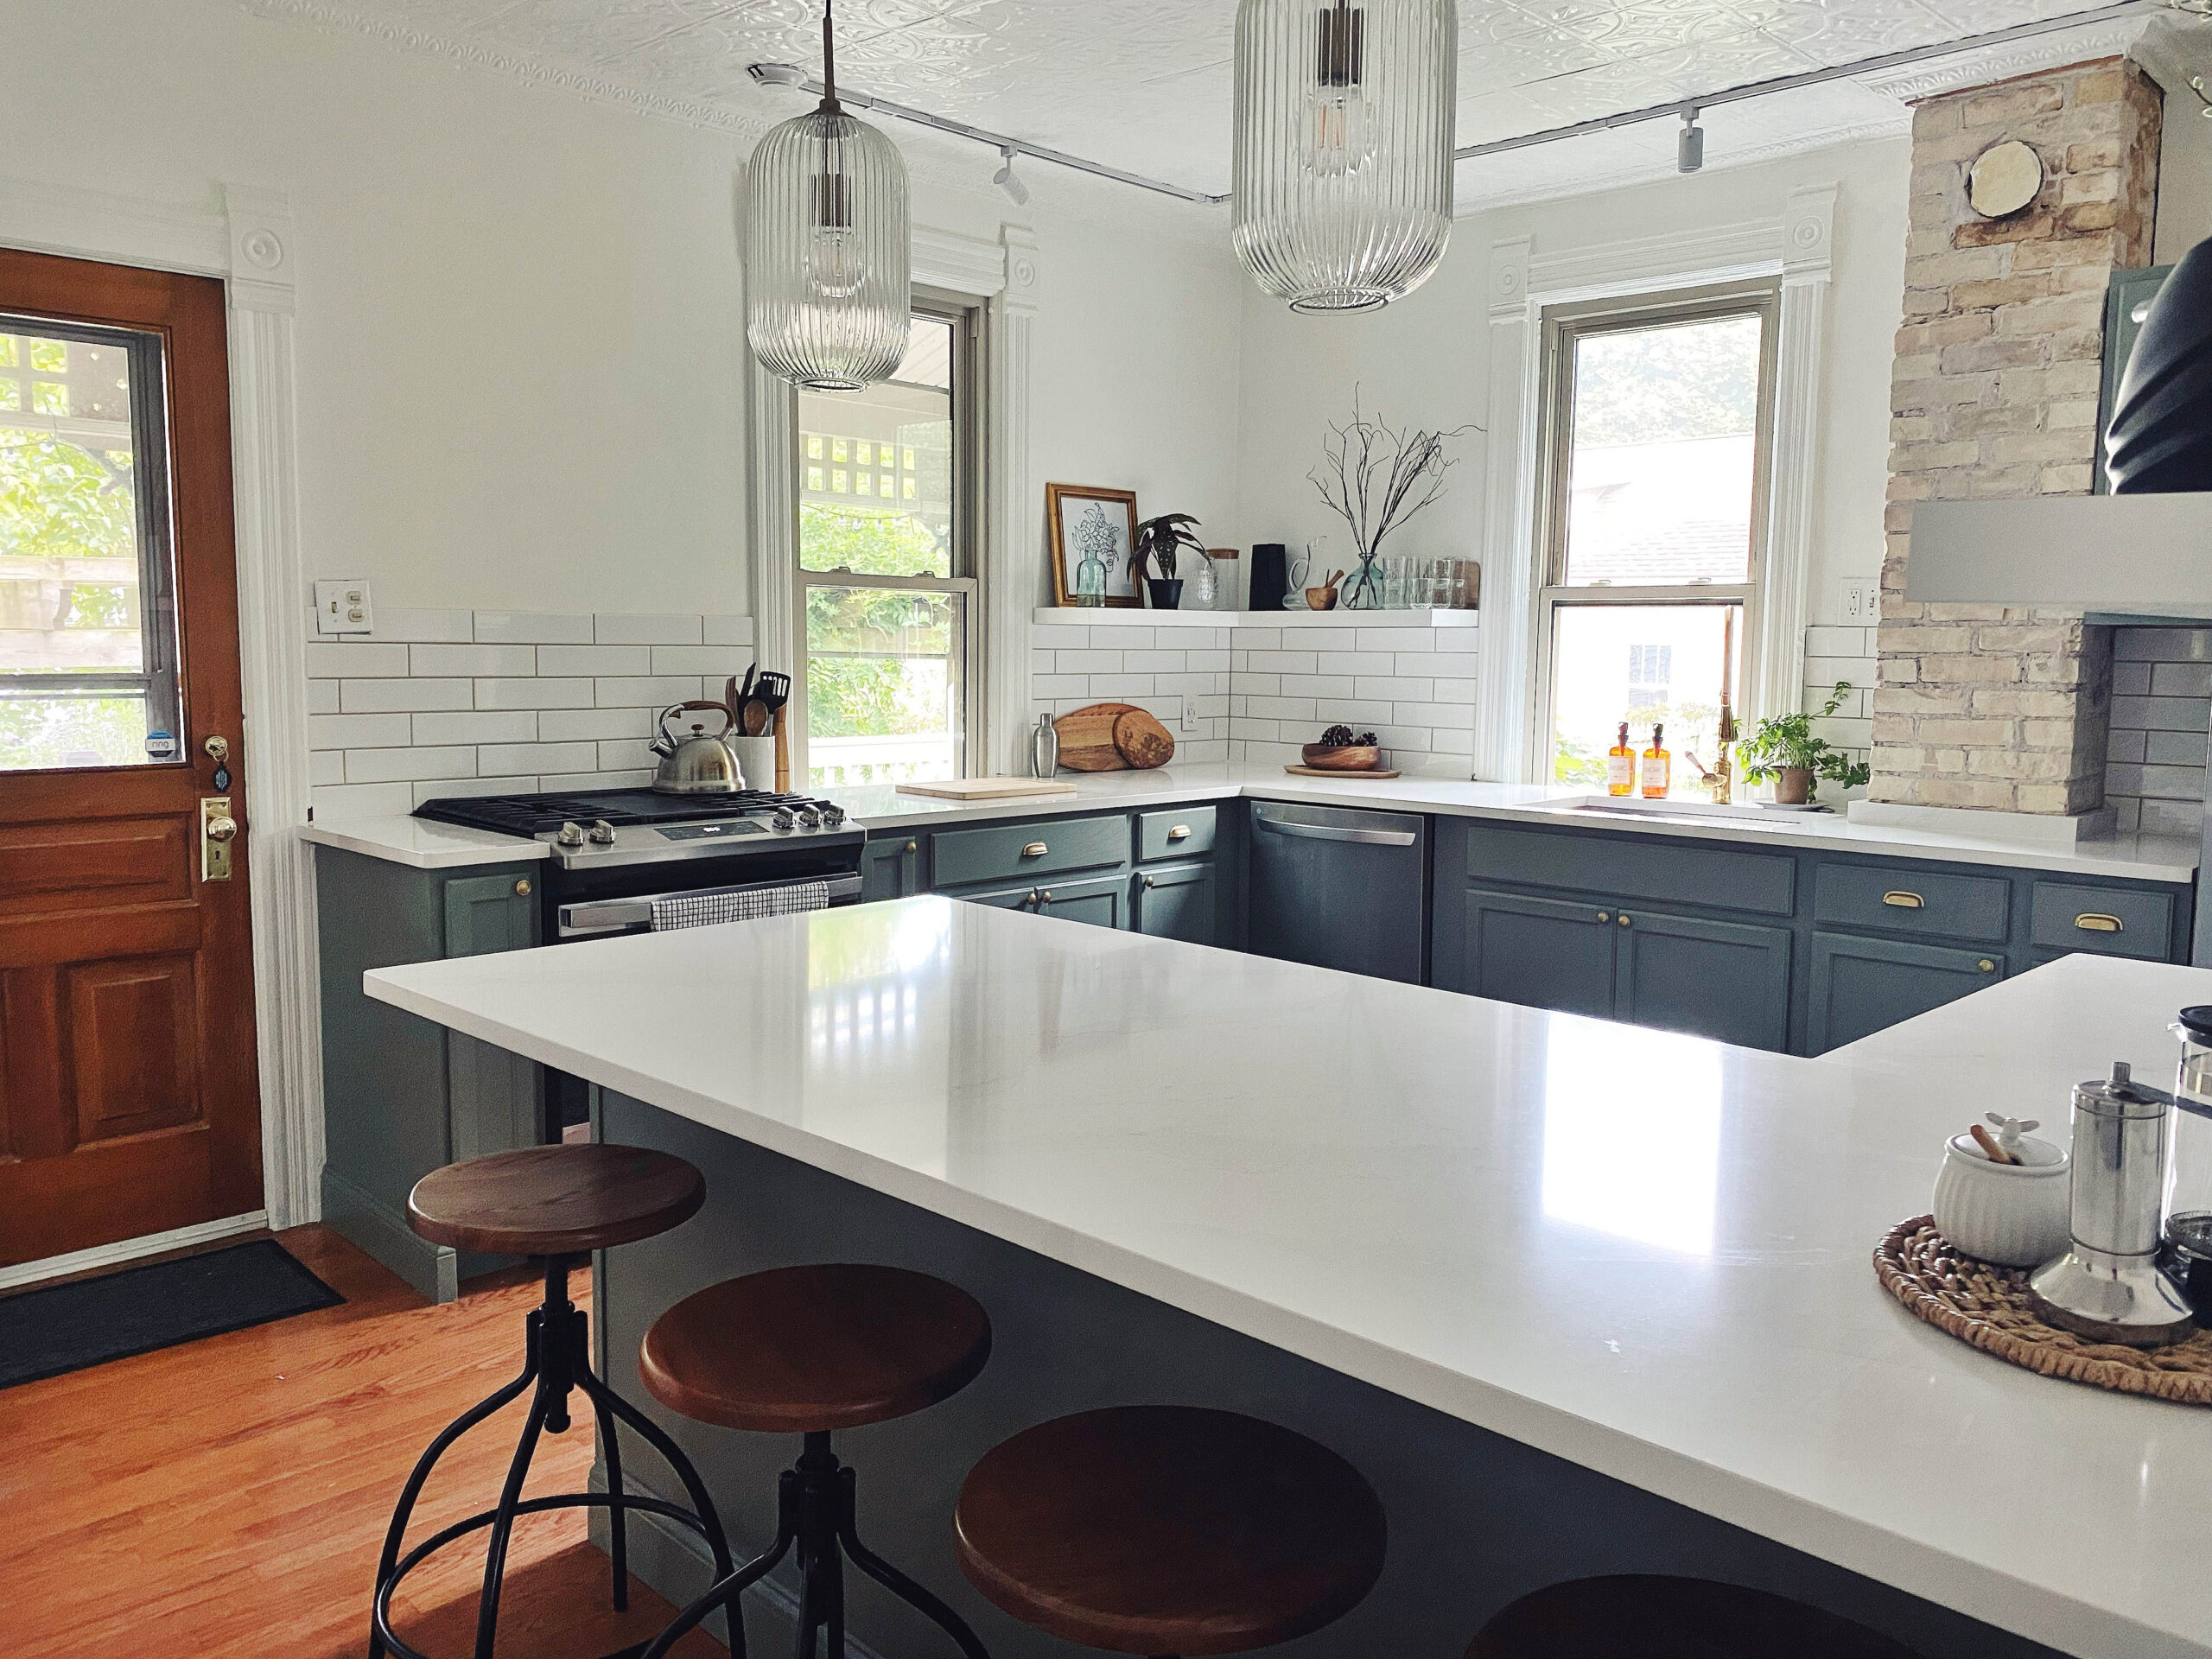
Picture a dark, awkward kitchen with almost no storage and a stove on blocks… now cue the transformation montage. This space went from barely functioning to bright, welcoming, and completely mine. Looking at the before and after still makes me do a double take—and maybe get a little emotional. It’s functional, it’s full of personality, and most importantly, it finally feels like home.
Still a Work in Progress…
Like most things in an old house, this kitchen is still evolving. I’ve got plans to add a range hood down the road and a few other small tweaks here and there—but for now, it’s a space I love spending time in (and showing off just a little).
If you’re curious about any of the details, you can shop the kitchen here. A quick heads-up: some of the links are affiliate links, which means I may earn a small commission if you make a purchase—at no extra cost to you. Think of it as helping fund the future hood install. 😉
Thanks for following along—and for loving this little space right along with me.